Breadboard
What is a breadboard (solderless prototyping board)?
What is a breadboard?
A breadboard (a solderless prototyping board) is a small plastic board full of holes into which you can plug all kinds of electronic components (resistors, LEDs, transistors, wires…) without soldering.
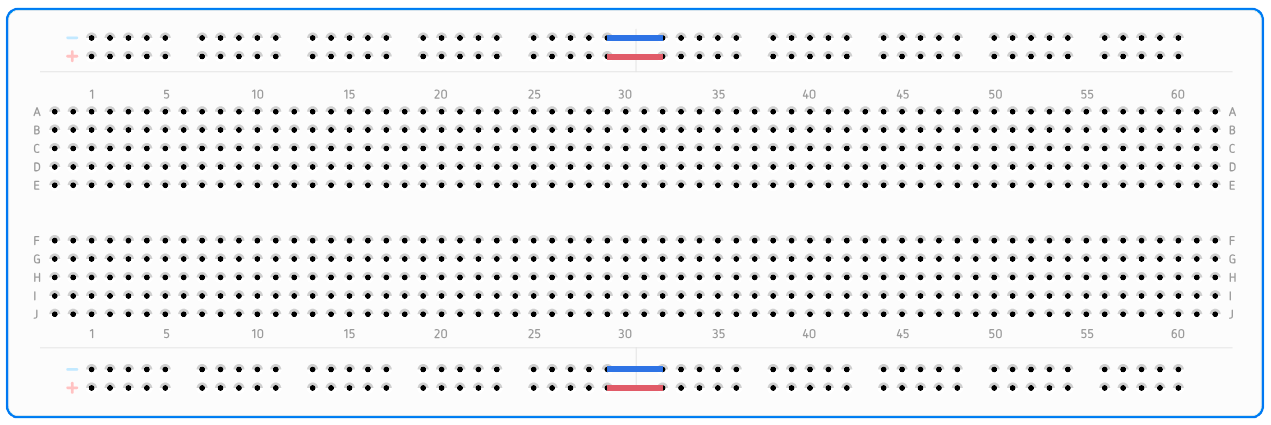
Underneath the holes there are metal strips that connect certain rows and columns, so components are connected to each other as soon as you plug them in.
Along the sides there are usually longer strips for power (+ and –), and in the middle there is a grid for connecting components.
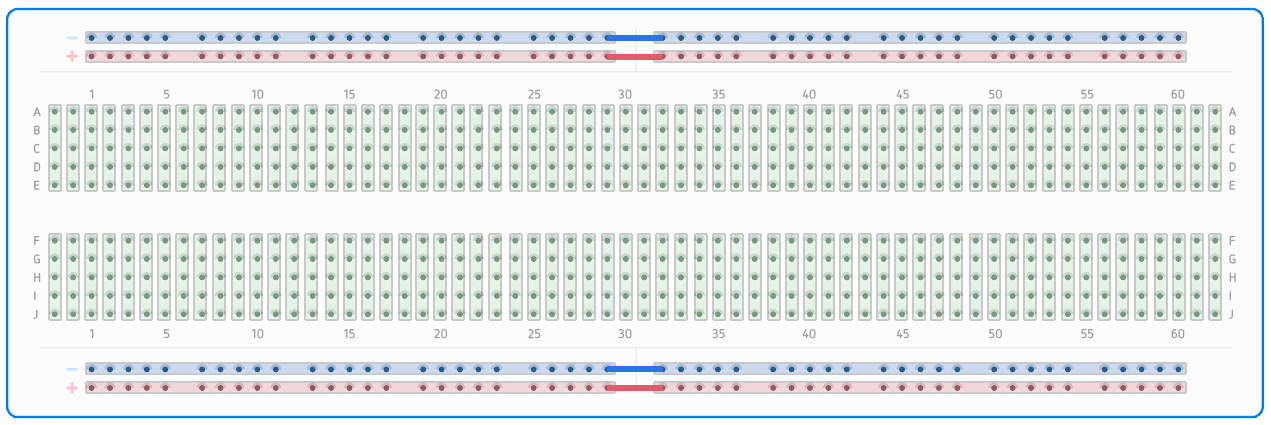
Breadboards come in different sizes, and we choose one depending on how complex the project we are building is.
Example
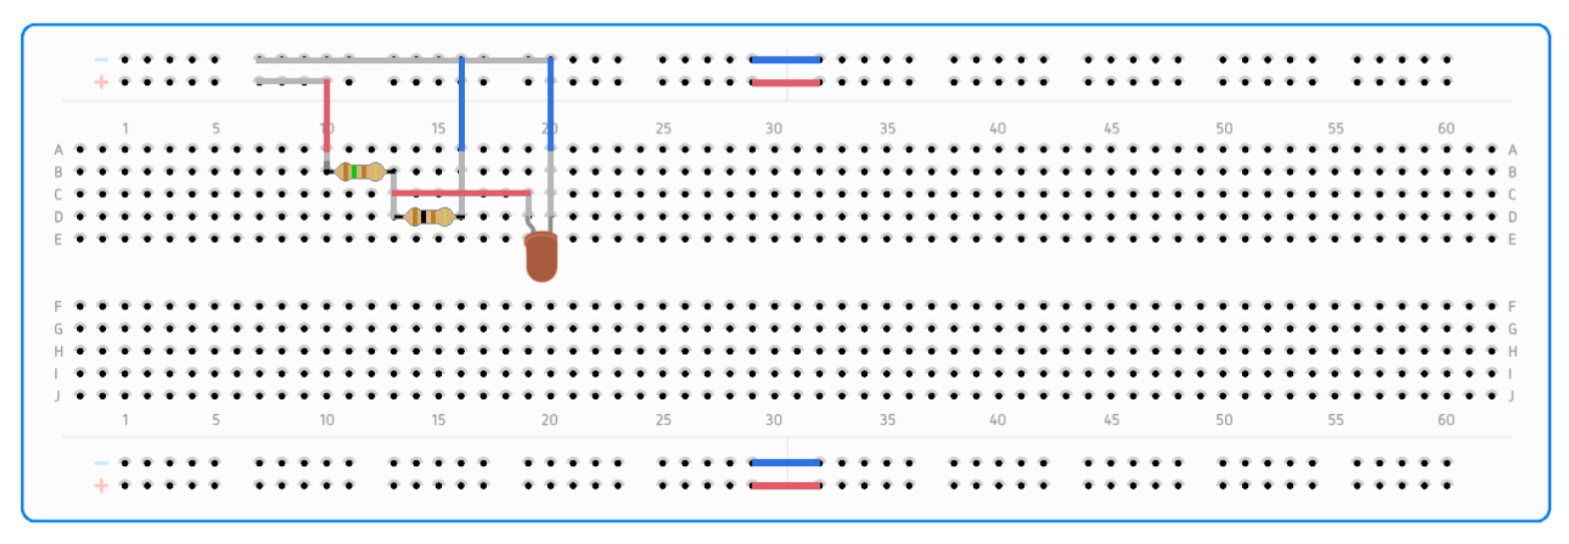
As an example of using a breadboard, here is a simple voltage divider with an LED.
Explanation:
A voltage divider is a way of getting a smaller voltage from a bigger one, and it is used all the time in electronics when a part of a circuit needs a specific, smaller voltage.It is usually made with two resistors connected one after the other. Current flows through both resistors, and at the point where they meet you get a smaller voltage – a "part" of the total. The sum of all these smaller voltages is always equal to the supply voltage of the circuit.
U = U1 + U2
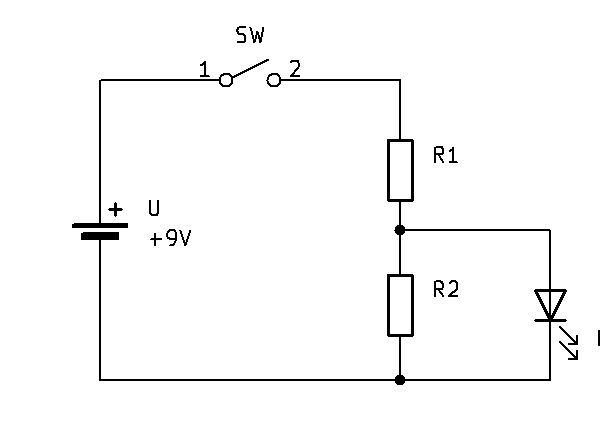
How do we connect it?
- Put one end of a resistor in column 10 (chosen at random) and the other end in column 13.
- Start the second resistor in column 13, so that it is connected to the first one, and put its other end in column 16.
- Place the LED with its anode in column 19 and its cathode in column 20.
- Use a wire to connect the anode of the LED to the point where the resistors meet (column 13).
- Use a wire to connect column 10 (the free end of the first resistor) to the power supply (+)
- Connect columns 16 (second resistor) and 20 (cathode of the LED) to the GND row (–) with wires.
The grey lines show the connections between the holes on the breadboard, so you can see that our circuit has all the connections needed for the schematic above.