Introduction to the micro:bit
What is a micro:bit and what can we do with it?
What is a micro:bit?
The micro:bit is a small, pocket-sized programmable computer, designed first and foremost to get children interested in programming.
The brain of the micro:bit is an ARM processor, and the buttons and the (LED) screen on the device let it talk to the user. On top of that, the micro:bit has lots of sensors that make all sorts of interesting uses of this little computer possible.
Screen
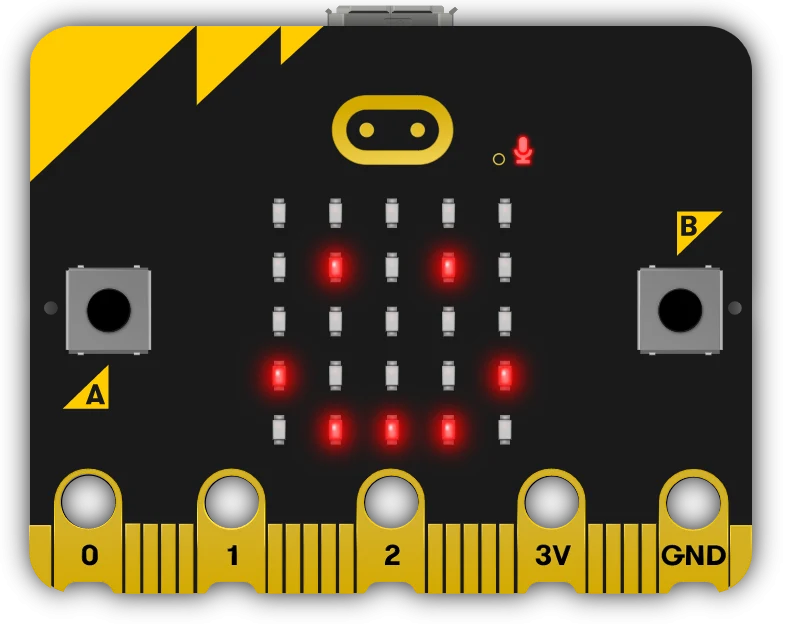
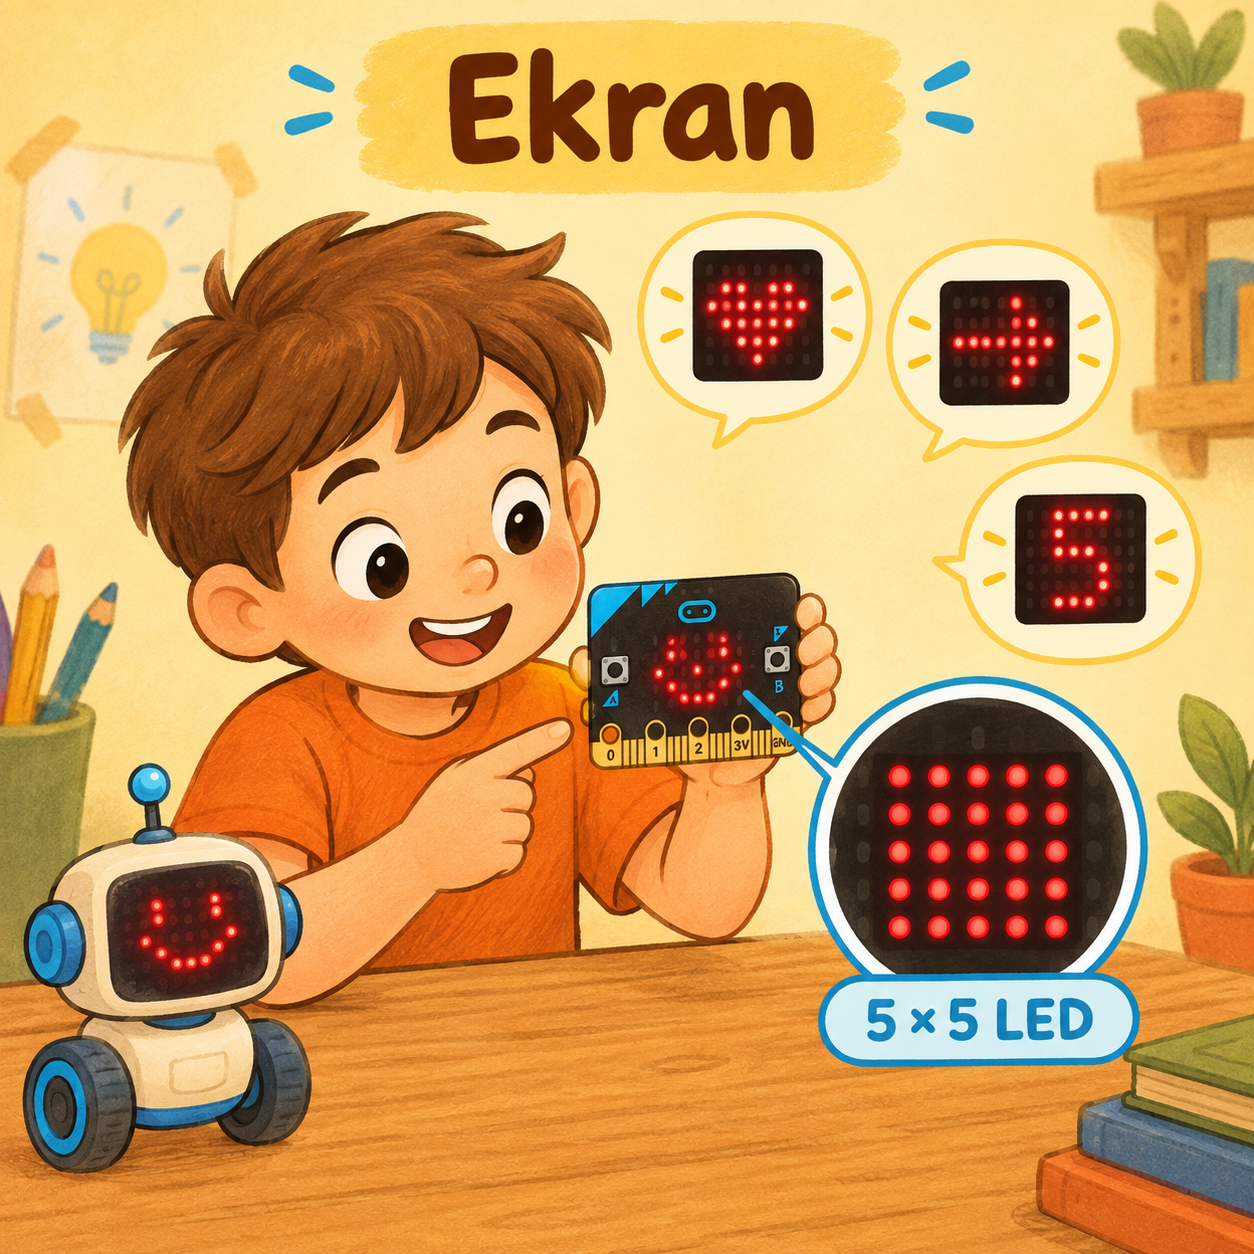
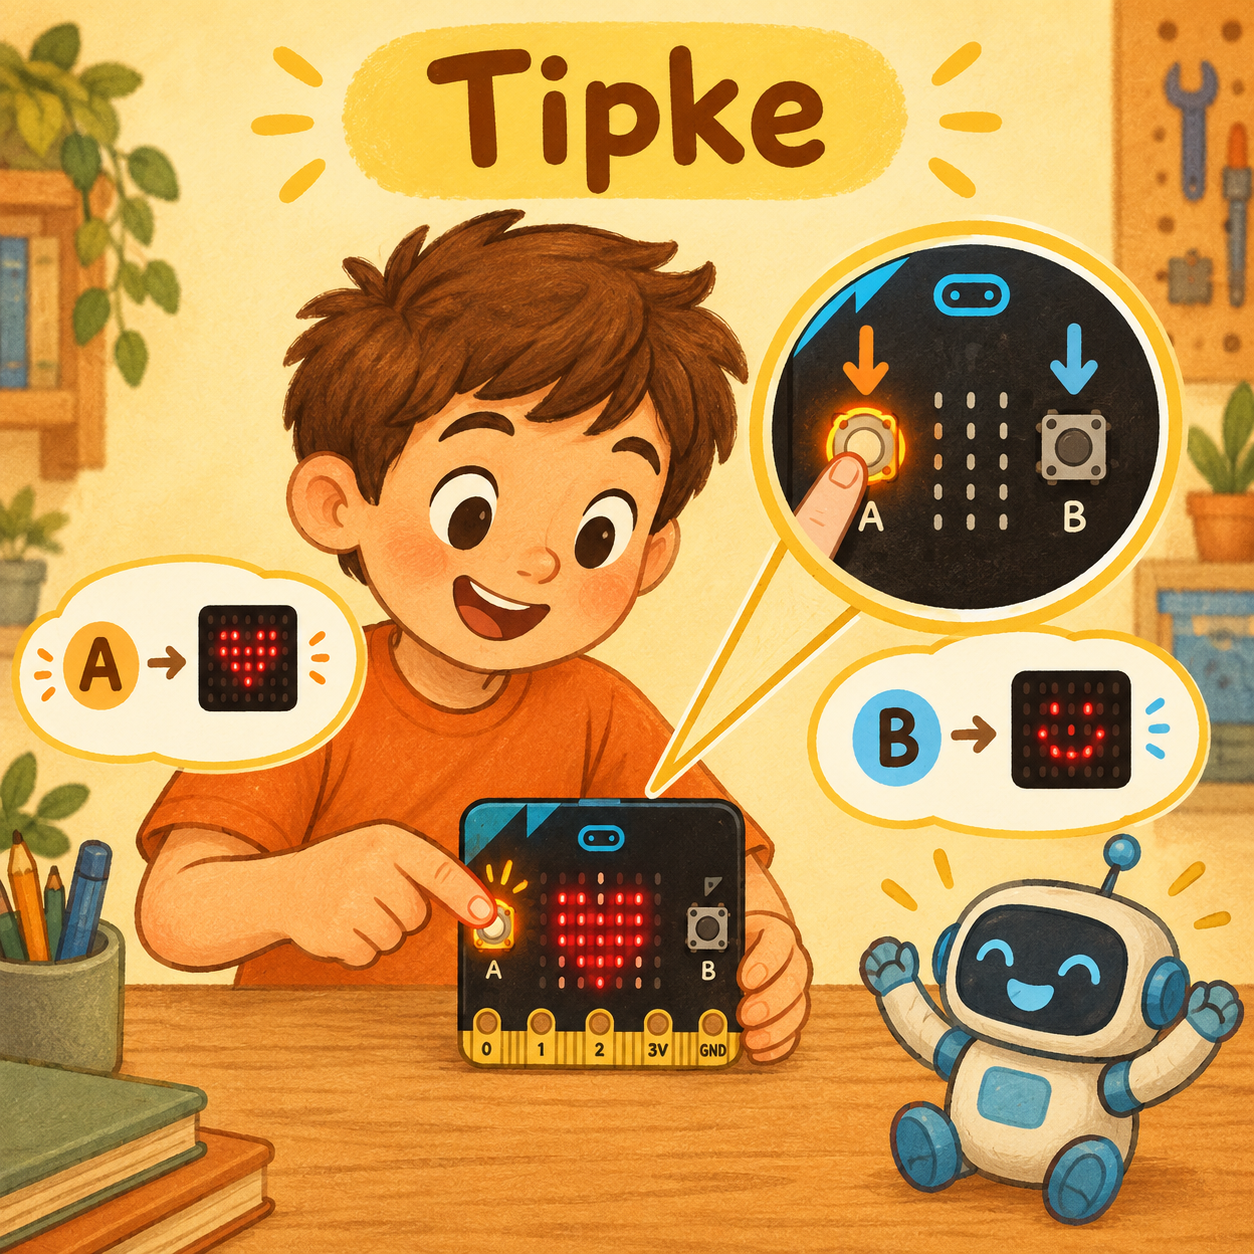
On the front of the micro:bit there are 25 little lights arranged in five rows and five columns. These lights are made using what is called LED technology. LED is short for Light Emitting Diode – a diode that gives off light. Because they last a long time and use little energy, LED lights are more and more often replacing halogen and fluorescent lights in our homes.There is a button on the left and on the right of the screen. The buttons are marked with the letters A and B and are used to put information in. The micro:bit can tell which button has been pressed and, when one of them is pressed, it can react either by doing something or by sending information to another device, depending on how we program it.
On the back of the micro:bit there is one more button, which restarts (resets) the program that is loaded on it.Compass
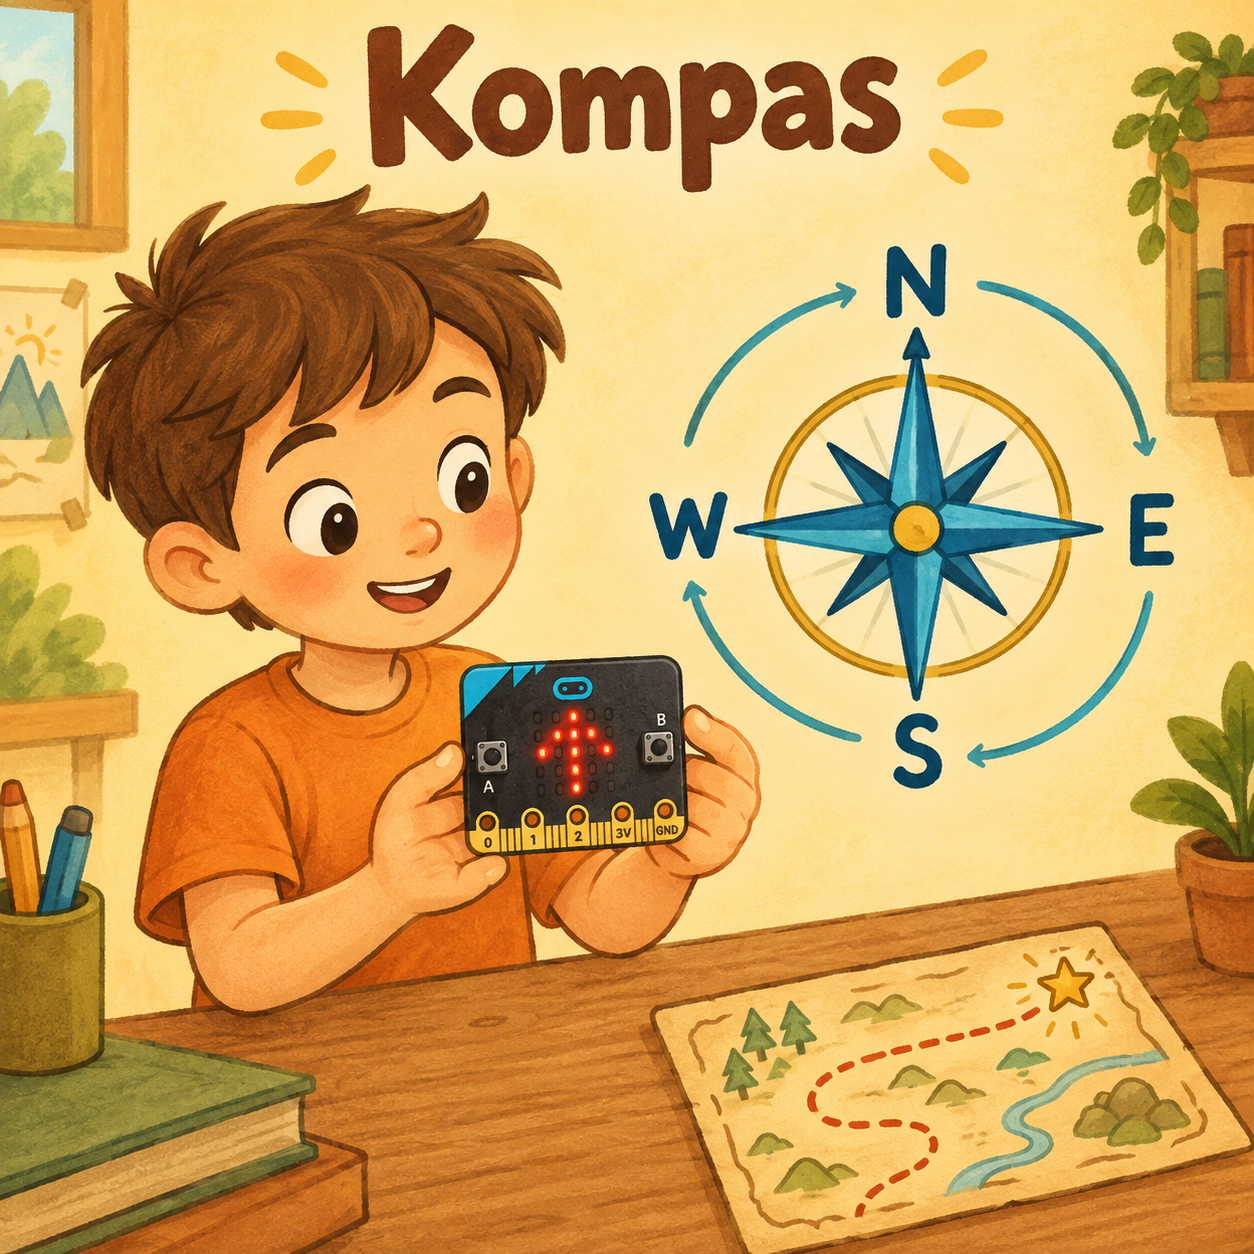
The micro:bit also has a built-in compass. We can measure how strong the magnetic field near it is, as well as which way the device is facing compared to the points of the compass (north, south, east and west).Accelerometer
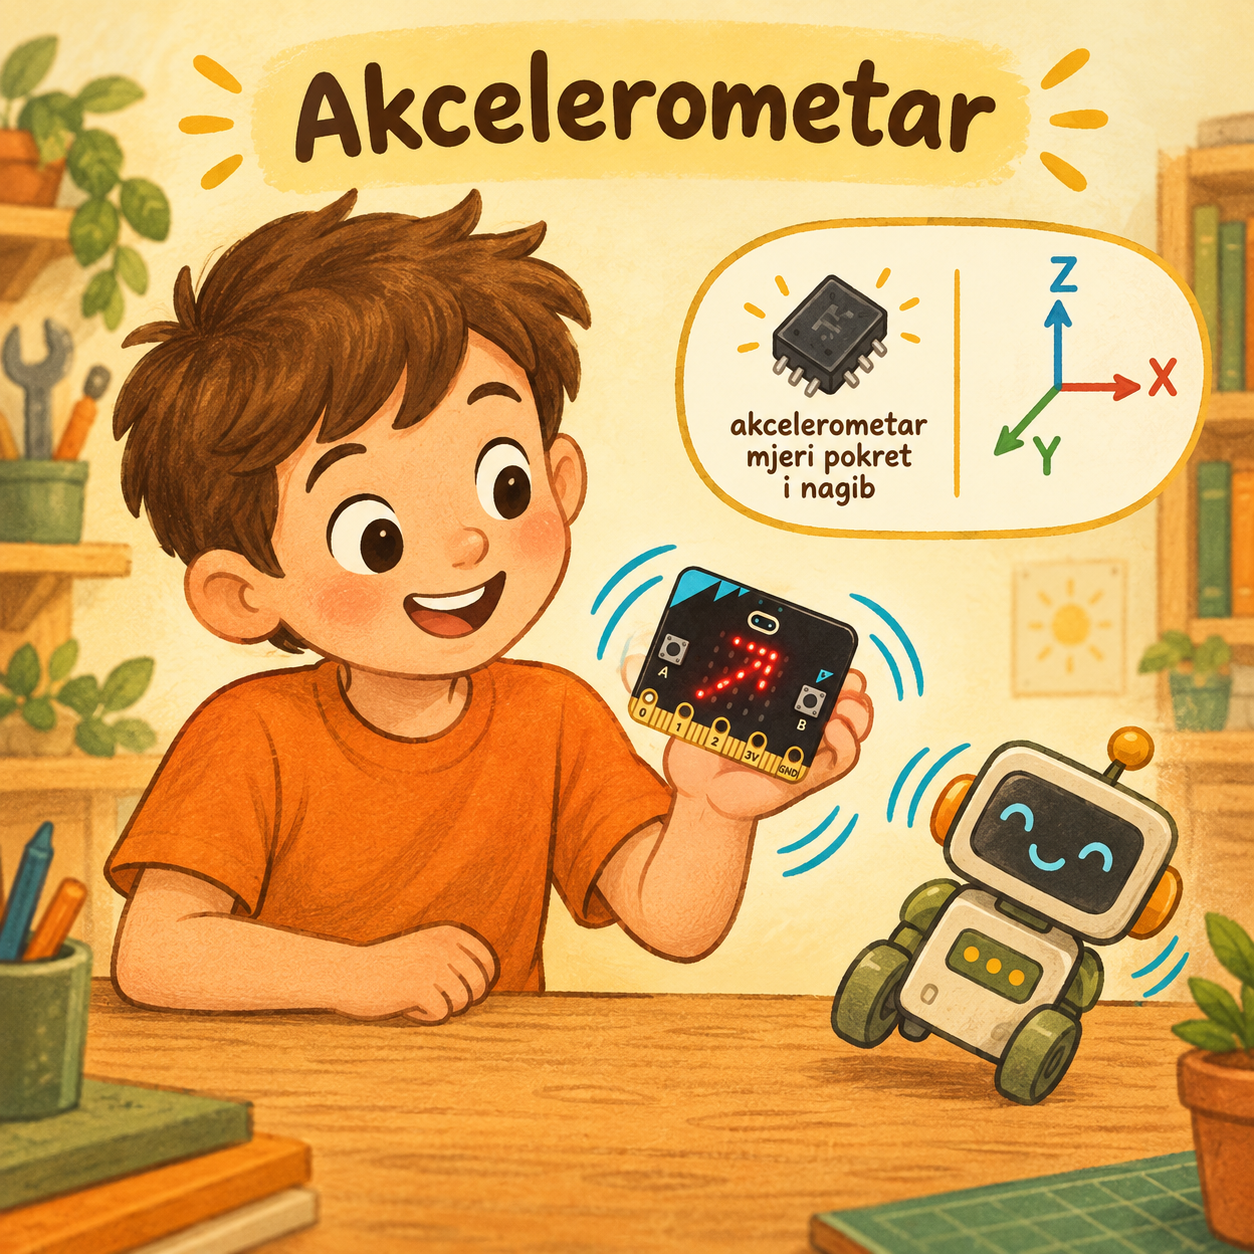
The accelerometer lets us detect different kinds of movement of the micro:bit. It can tell when someone shakes it, tilts it or drops it. This sensor can really add to our projects and make them even more interesting.Temperature sensor
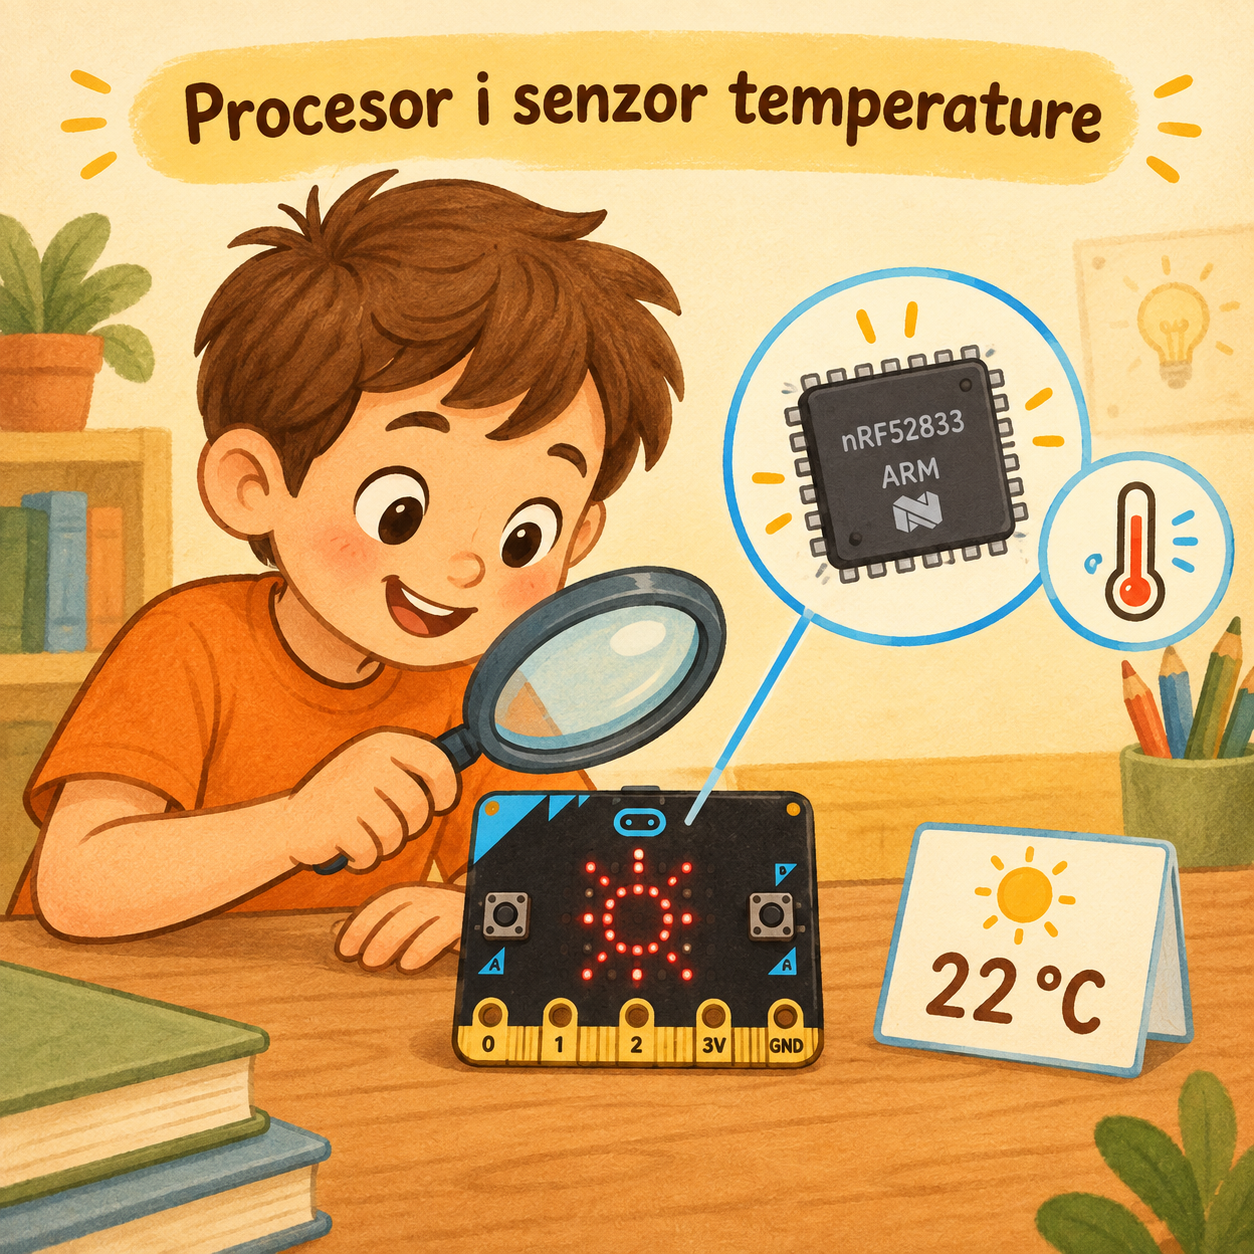
The micro:bit doesn’t have a separate temperature sensor built in, but we can use a sensor that measures the temperature of its processor. Although the temperature the micro:bit shows isn’t completely accurate, we can detect when it changes and use that data to make different projects.Pins
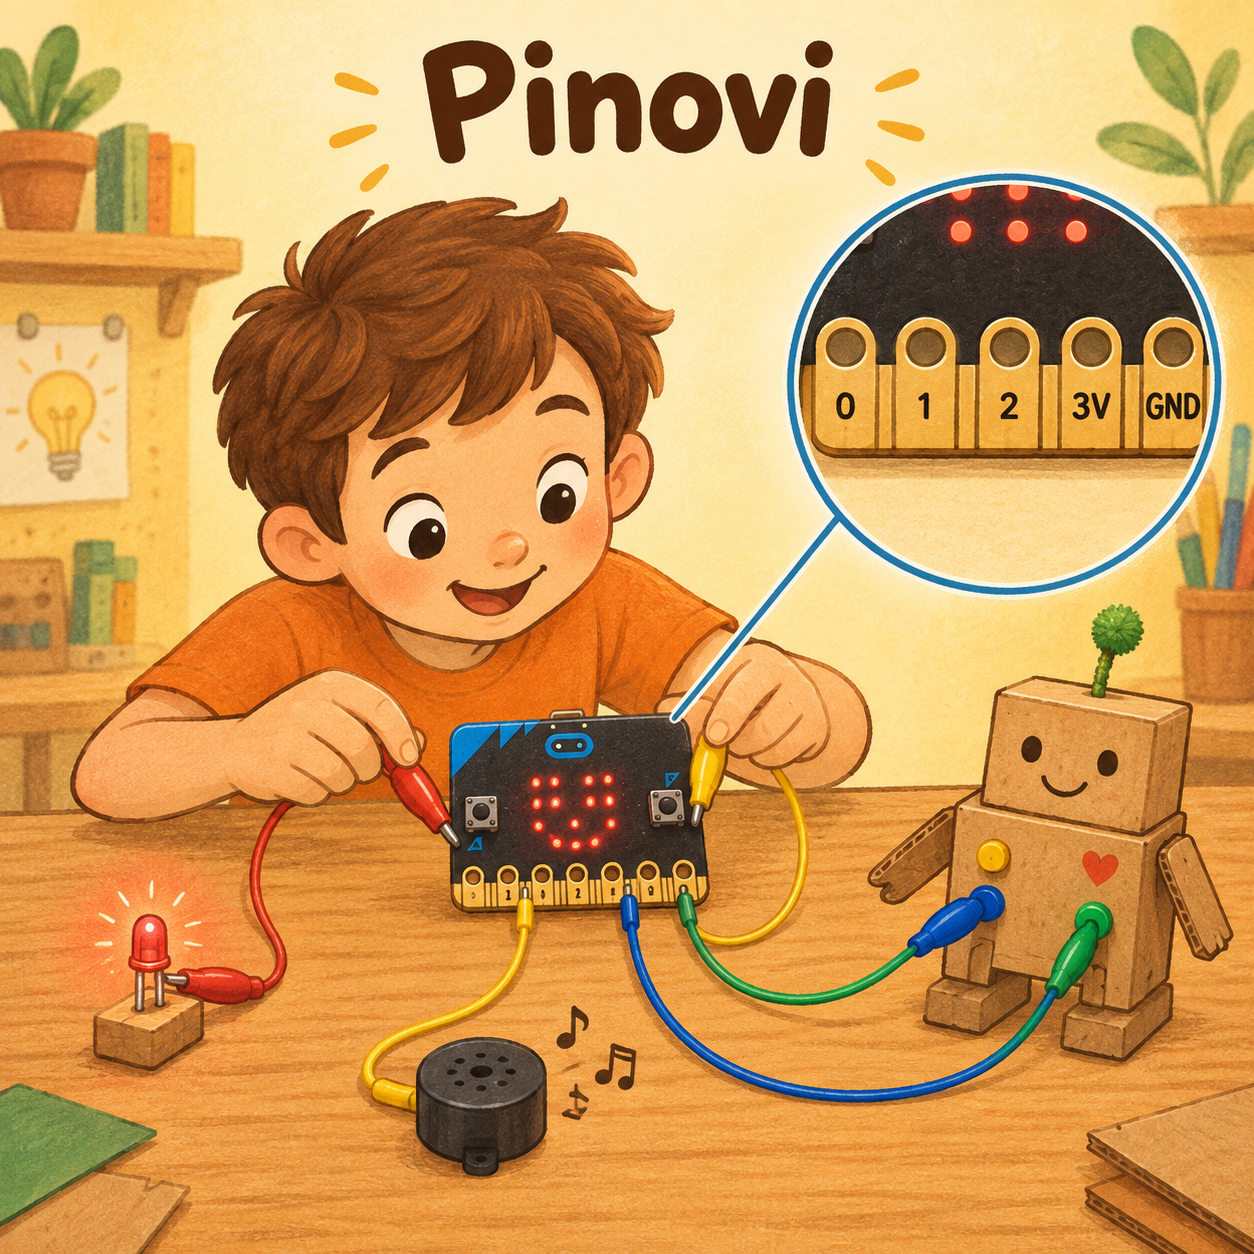
Along the edge of the micro:bit there are 25 connectors (pins) – 5 big ones and 20 small ones. The five big (main) pins are labelled 0, 1, 2, 3V and GND. Pins 0, 1 and 2 are general-purpose input/output pins.
Using wires with crocodile clips (or nuts and bolts), we can connect all sorts of extra sensors to the micro:bit through these pins, and also control lots of devices. The 3V and GND pins (GND means ground) are used for power. Even though it is labelled 3V, this pin gives out a voltage of 3.3V compared to ground.Bluetooth
The micro:bit also has a BLE (Bluetooth Low Energy) antenna, which lets it communicate wirelessly with other micro:bits, a computer, a mobile phone or another device. Communication with other devices works both ways, which means the micro:bit can receive data from them and also send data to them.Back side
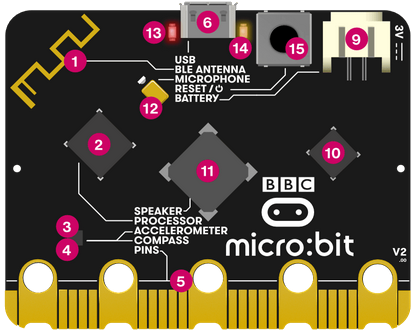
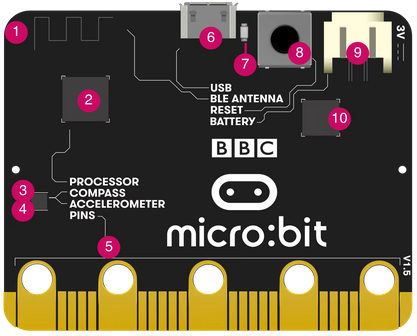
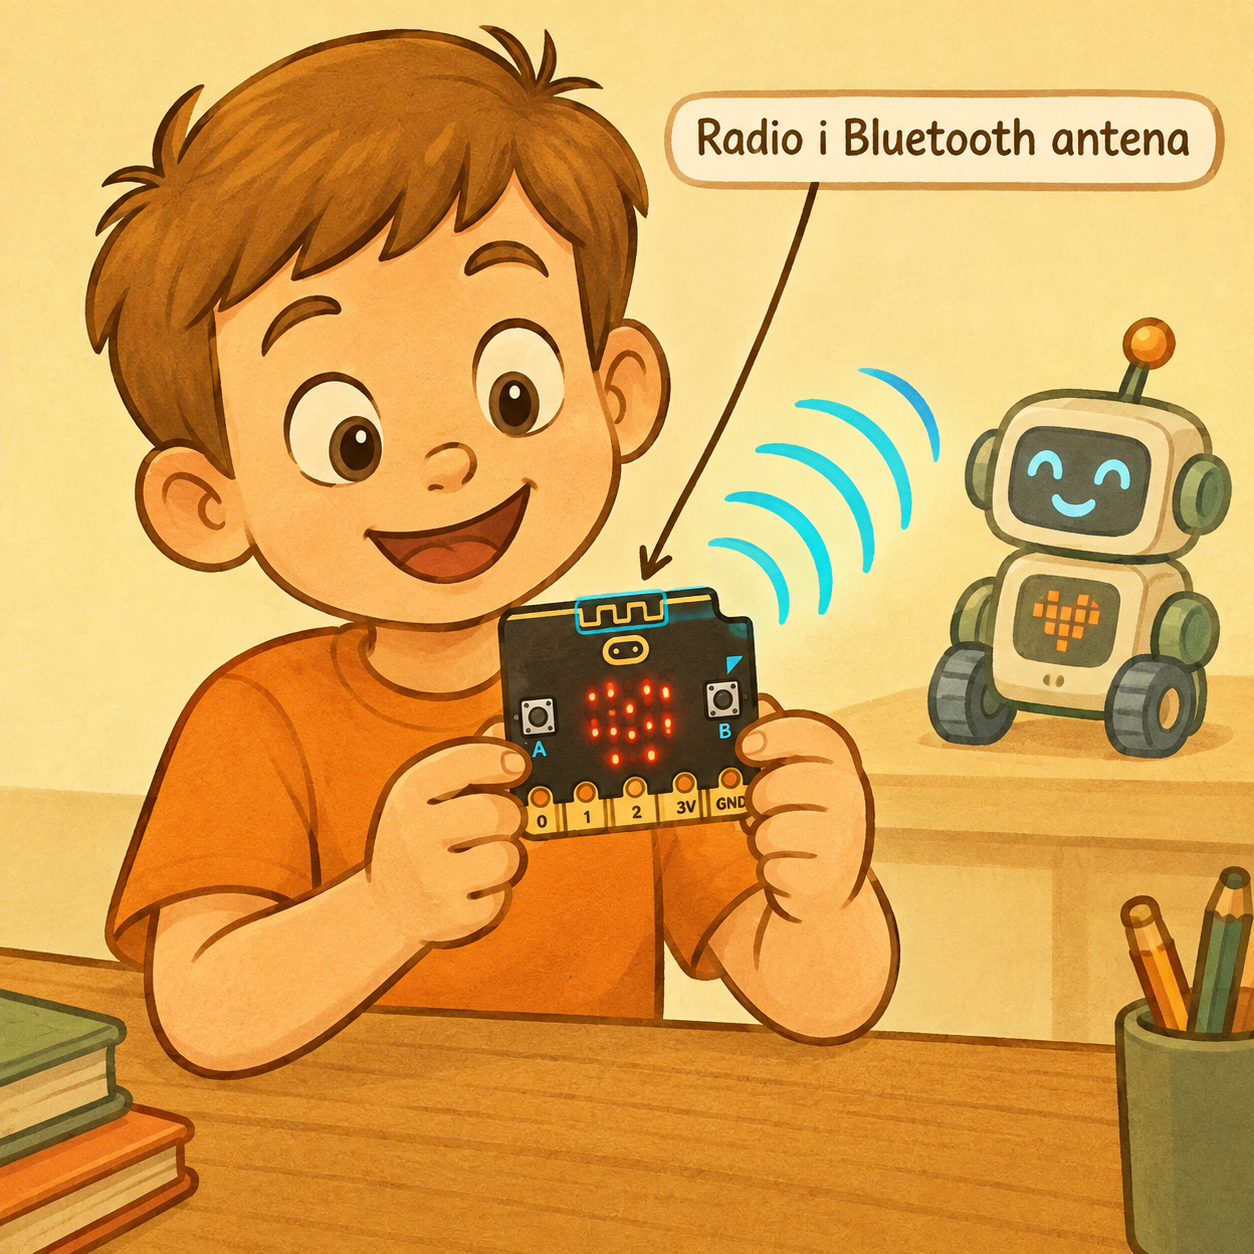
1. Radio & Bluetooth antenna
The micro:bit can communicate with other micro:bits by radio, and with other devices (for example a computer or a smartphone) using Bluetooth.2. Processor and temperature sensor
The micro:bit’s processor is its “brain”: it fetches, decodes and carries out the instructions it is given. It also contains a temperature sensor, so it can measure how warm or cold it is around it.3. Compass
The micro:bit uses its compass to find magnetic north and to measure the strength of magnetic fields. It can measure magnetic fields in three dimensions, which can be used for science experiments or for simple door or window alarms.4. Accelerometer
The accelerometer measures forces in three dimensions, including gravity, so projects can work out which way up the micro:bit is. It can be used for science experiments, to add shake detection to games, or for simple alarms that warn you when something moves.5. Pins
The pins let you connect the micro:bit to headphones, simple switches and electronics, touch sensing and much more. The pins can light a small LED (with a resistor) and send signals to other add-ons. Motors and robots need a special motor board and their own batteries – we never connect a motor straight to a pin.
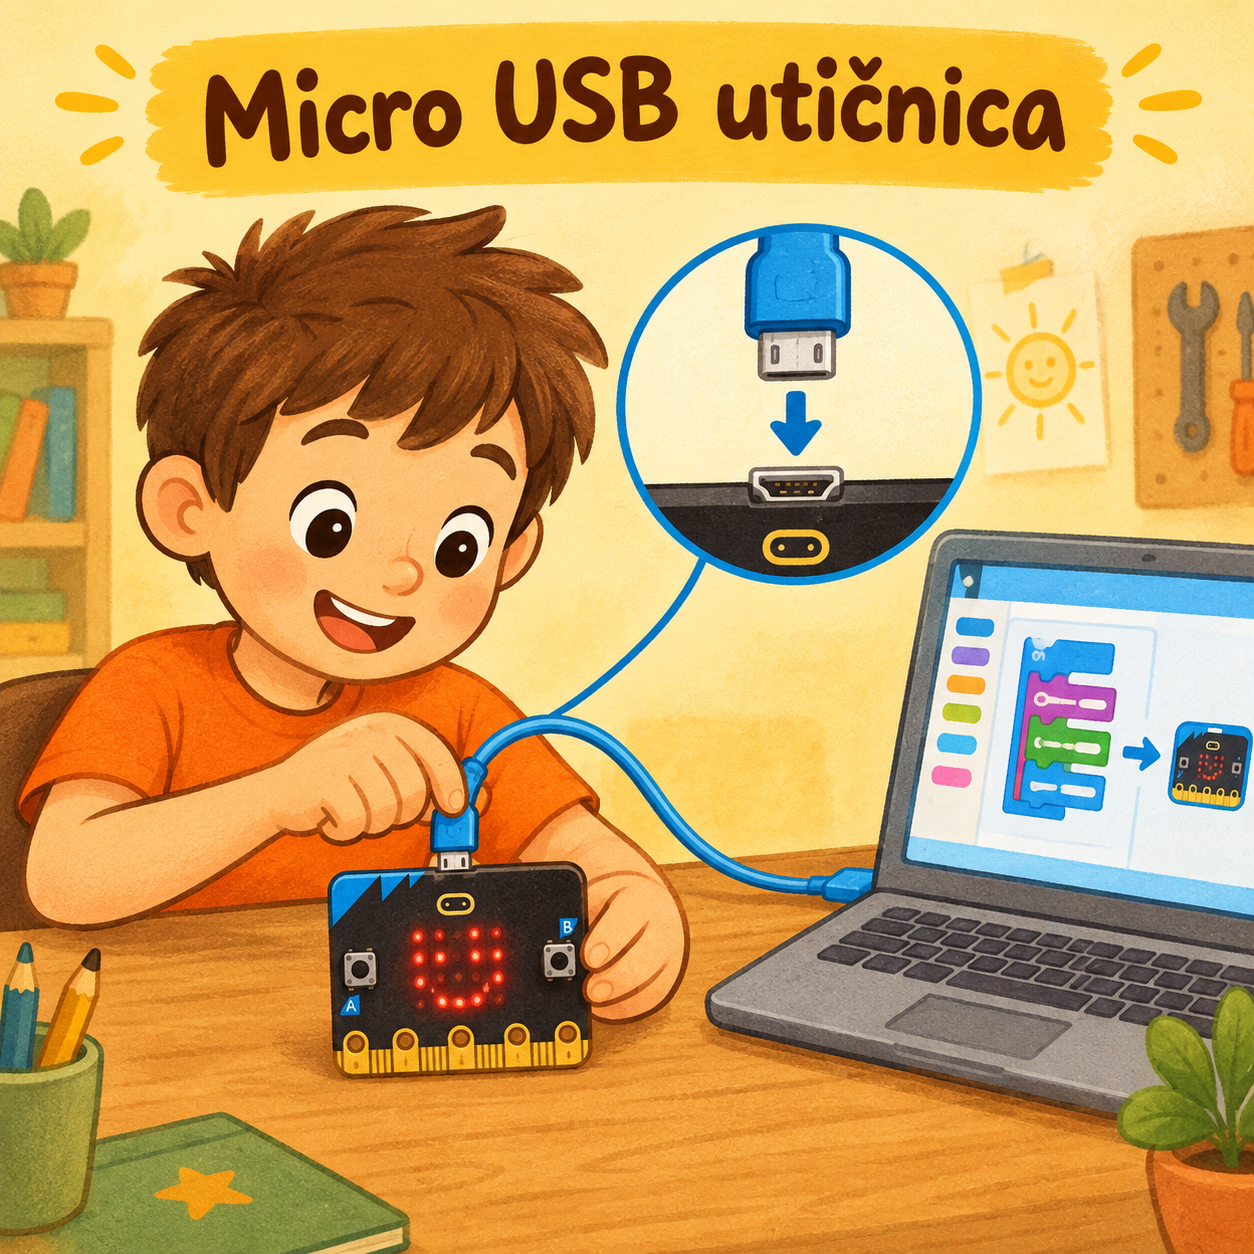
6. Micro USB socket
This lets you copy programs from the computer to the micro:bit, and it can also power the micro:bit over USB.
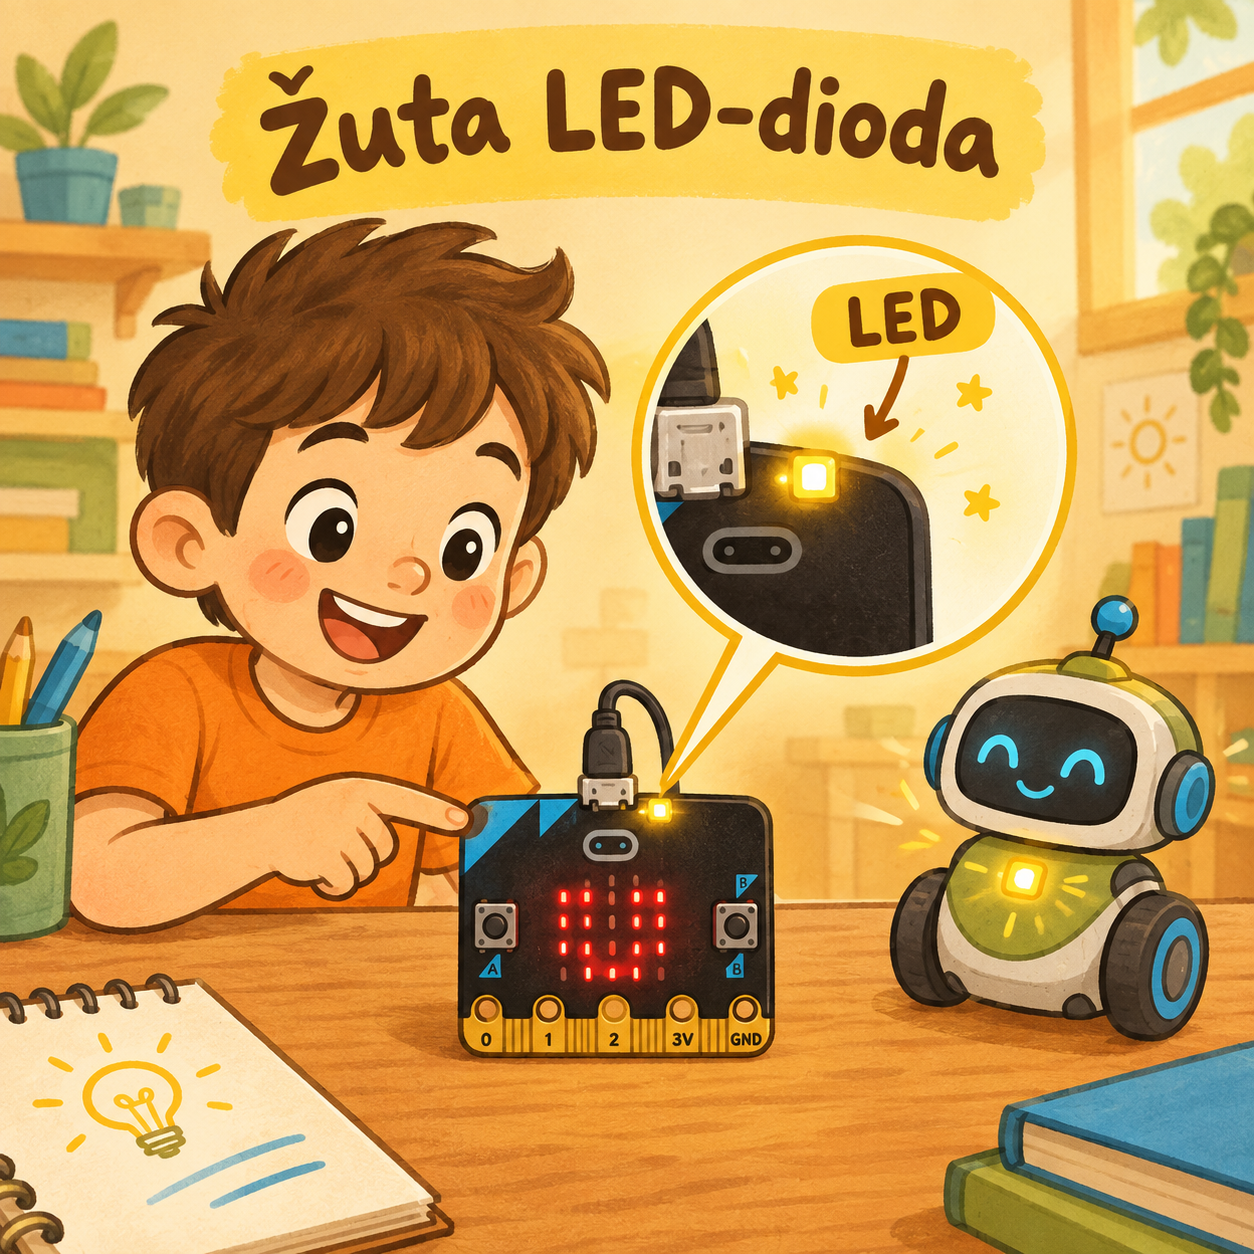
7. Yellow LED
The yellow LED on the back of the original micro:bit (V1) flashes while a program is being copied (flashed) onto it, and stays on when it is powered over USB.
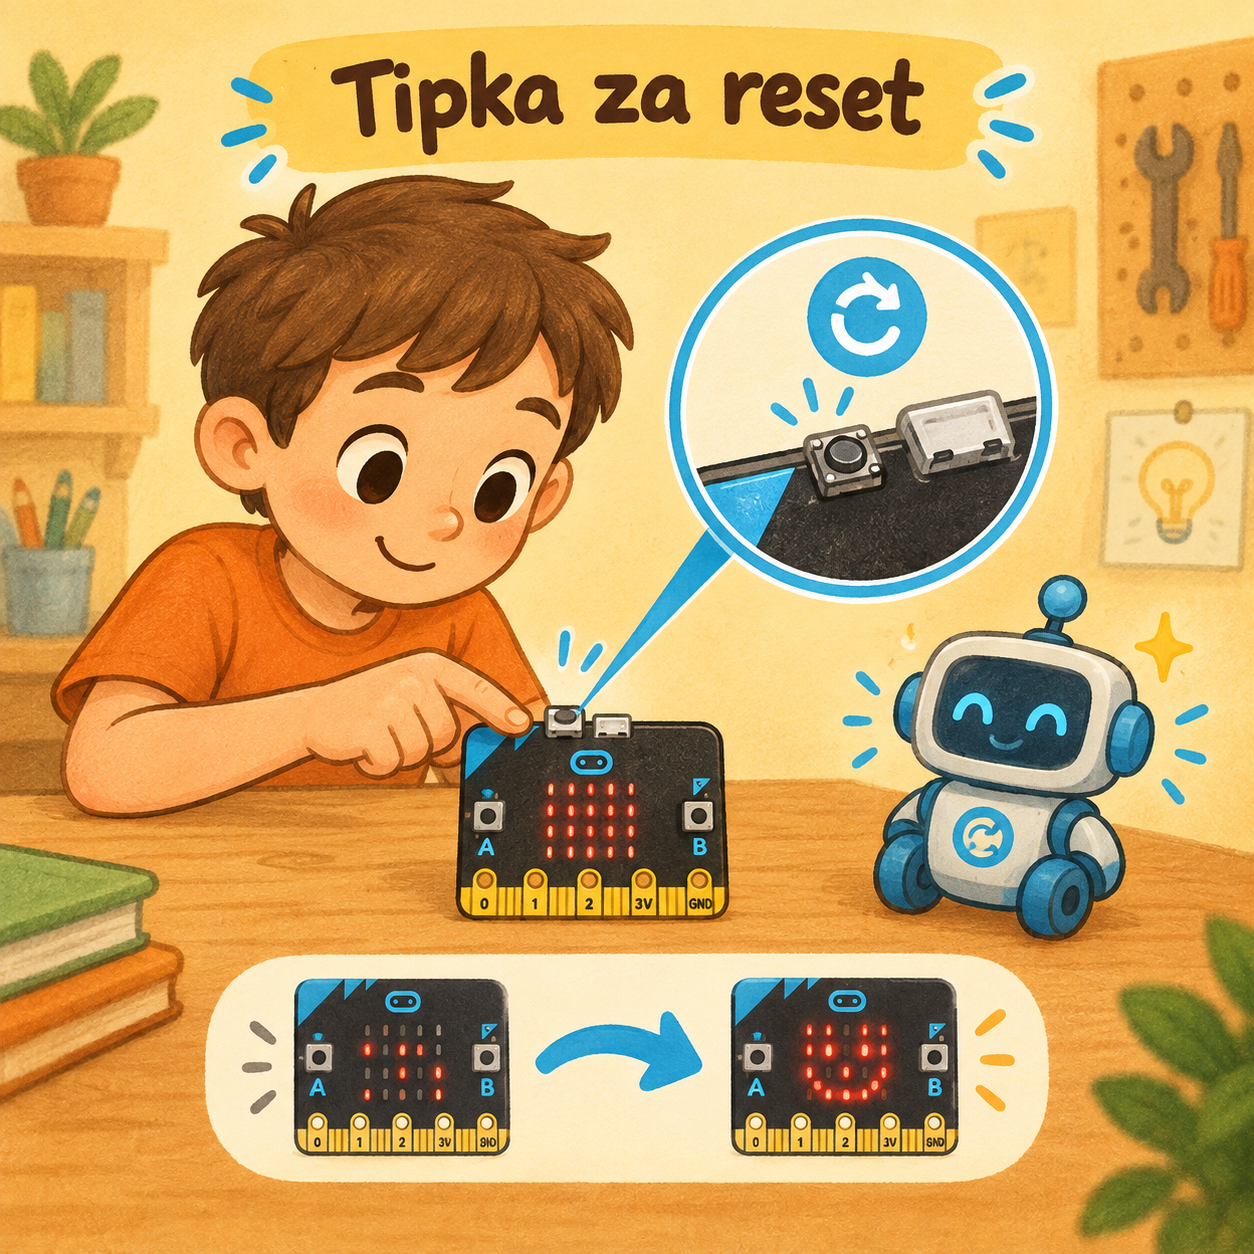
The reset button restarts the program on the micro:bit.
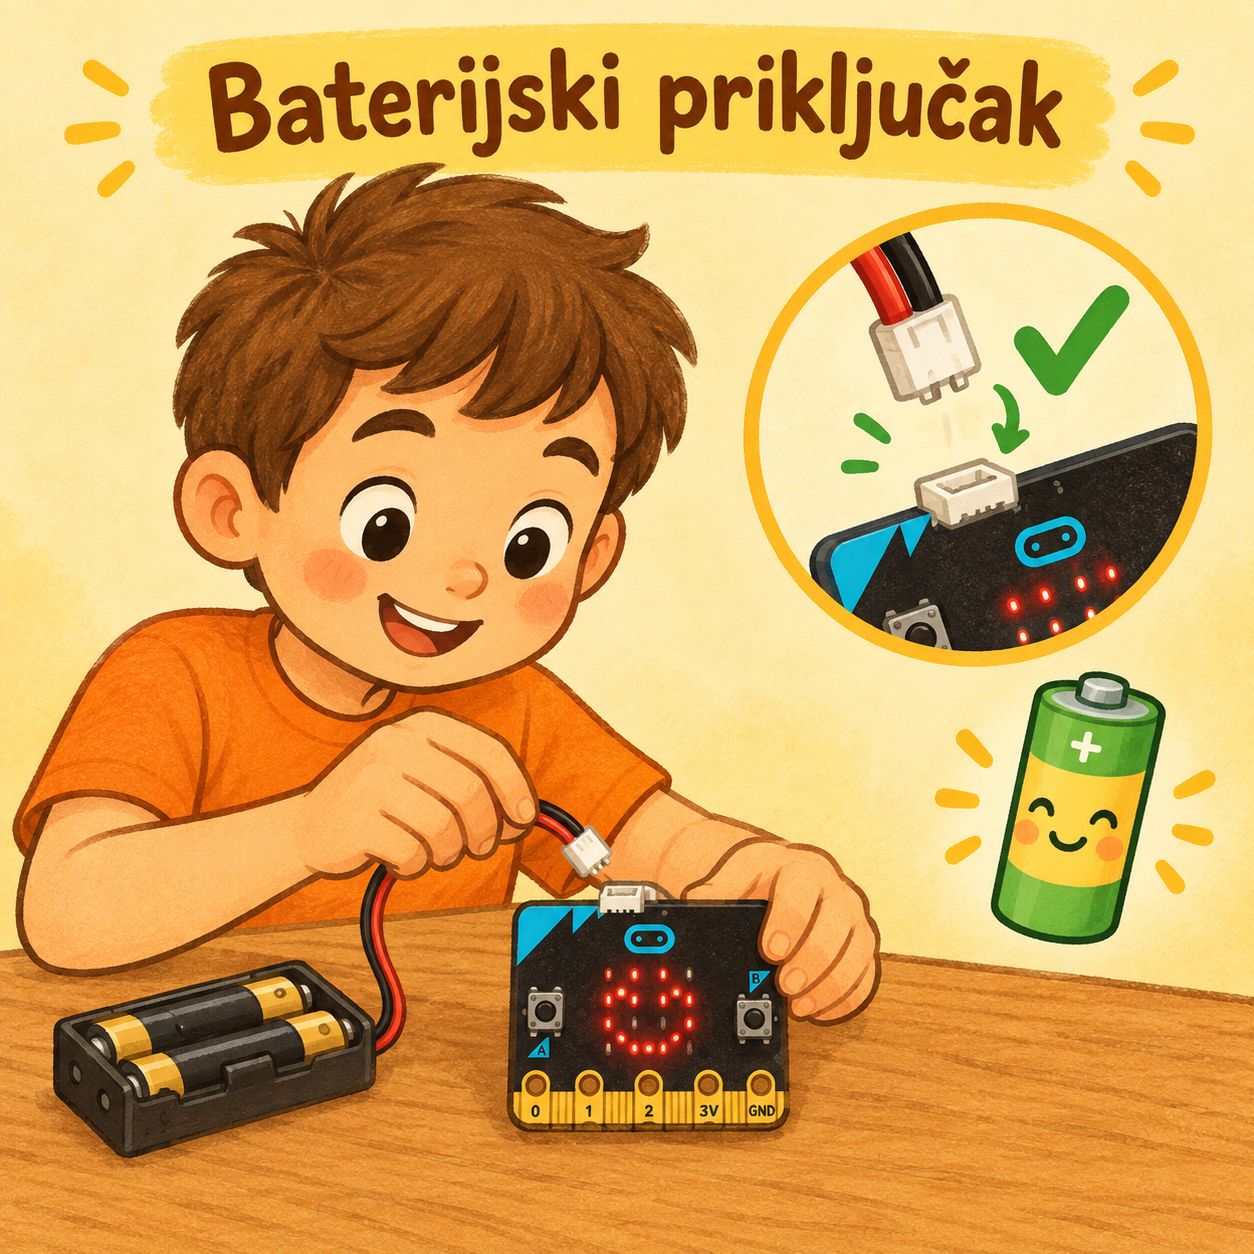
9. Battery socket
The micro:bit can be unplugged from the computer if you use a battery pack. This is very useful because it lets the micro:bit move around, so you can carry it with you or play games with it. It can run for a long time on just two AAA batteries.
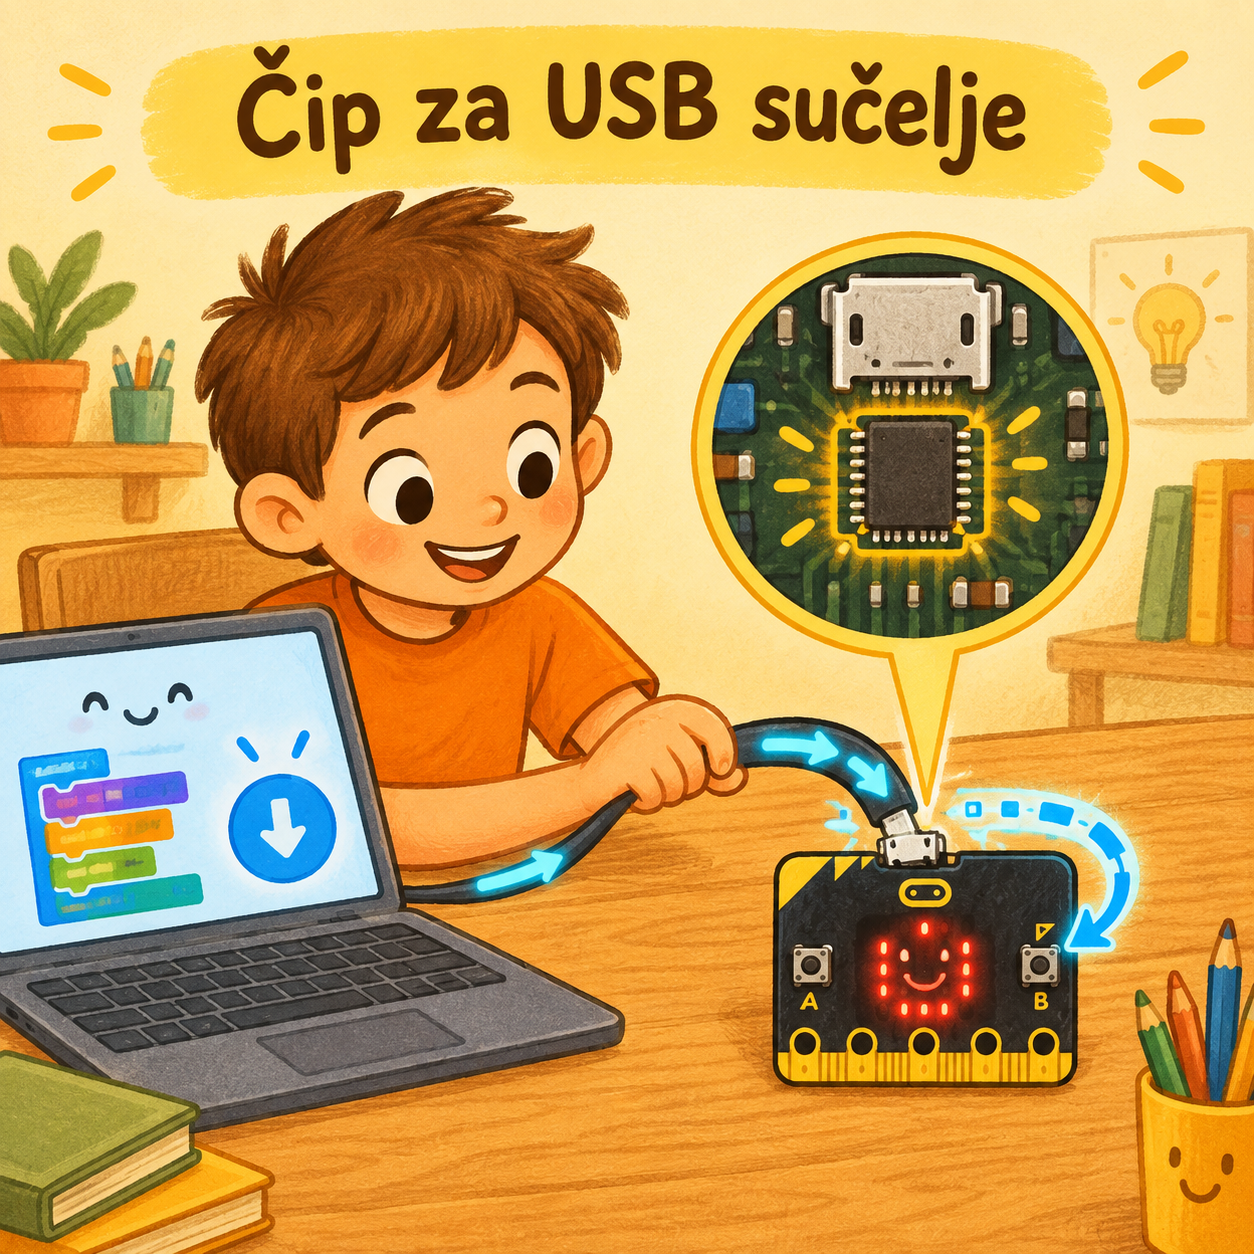
10. USB interface chip
The USB interface chip is used to copy new code onto the micro:bit, and to send and receive serial data to and from the computer over USB.
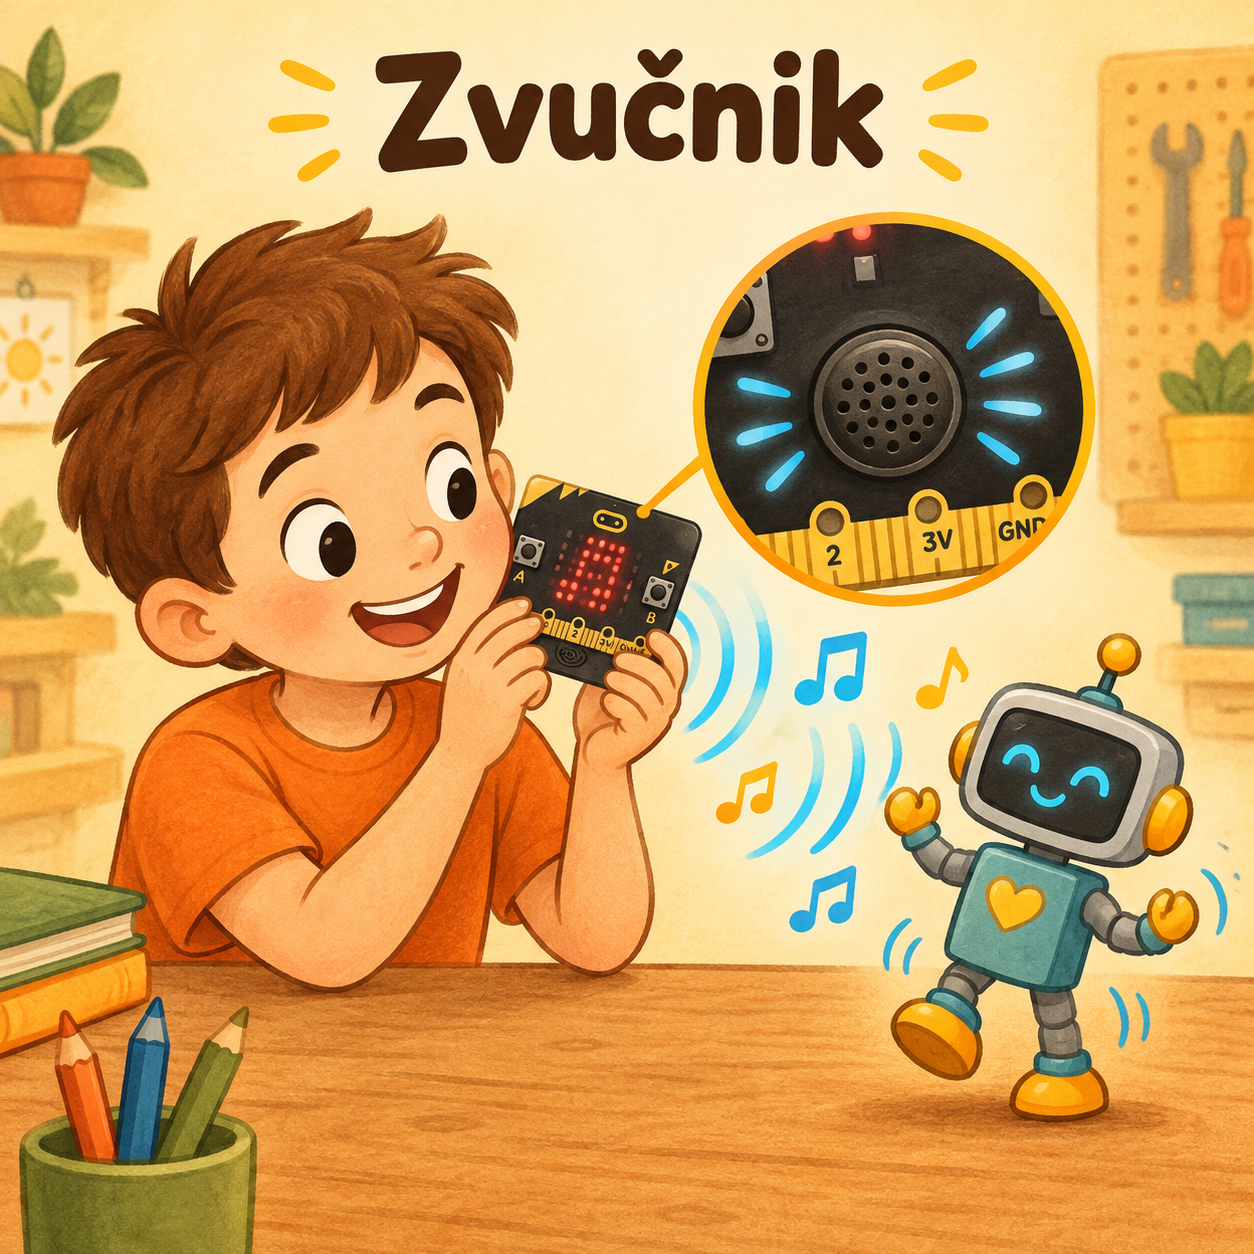
11. Speaker
The new micro:bit with sound has a built-in speaker, which makes it easier to add music and new sounds to your projects.
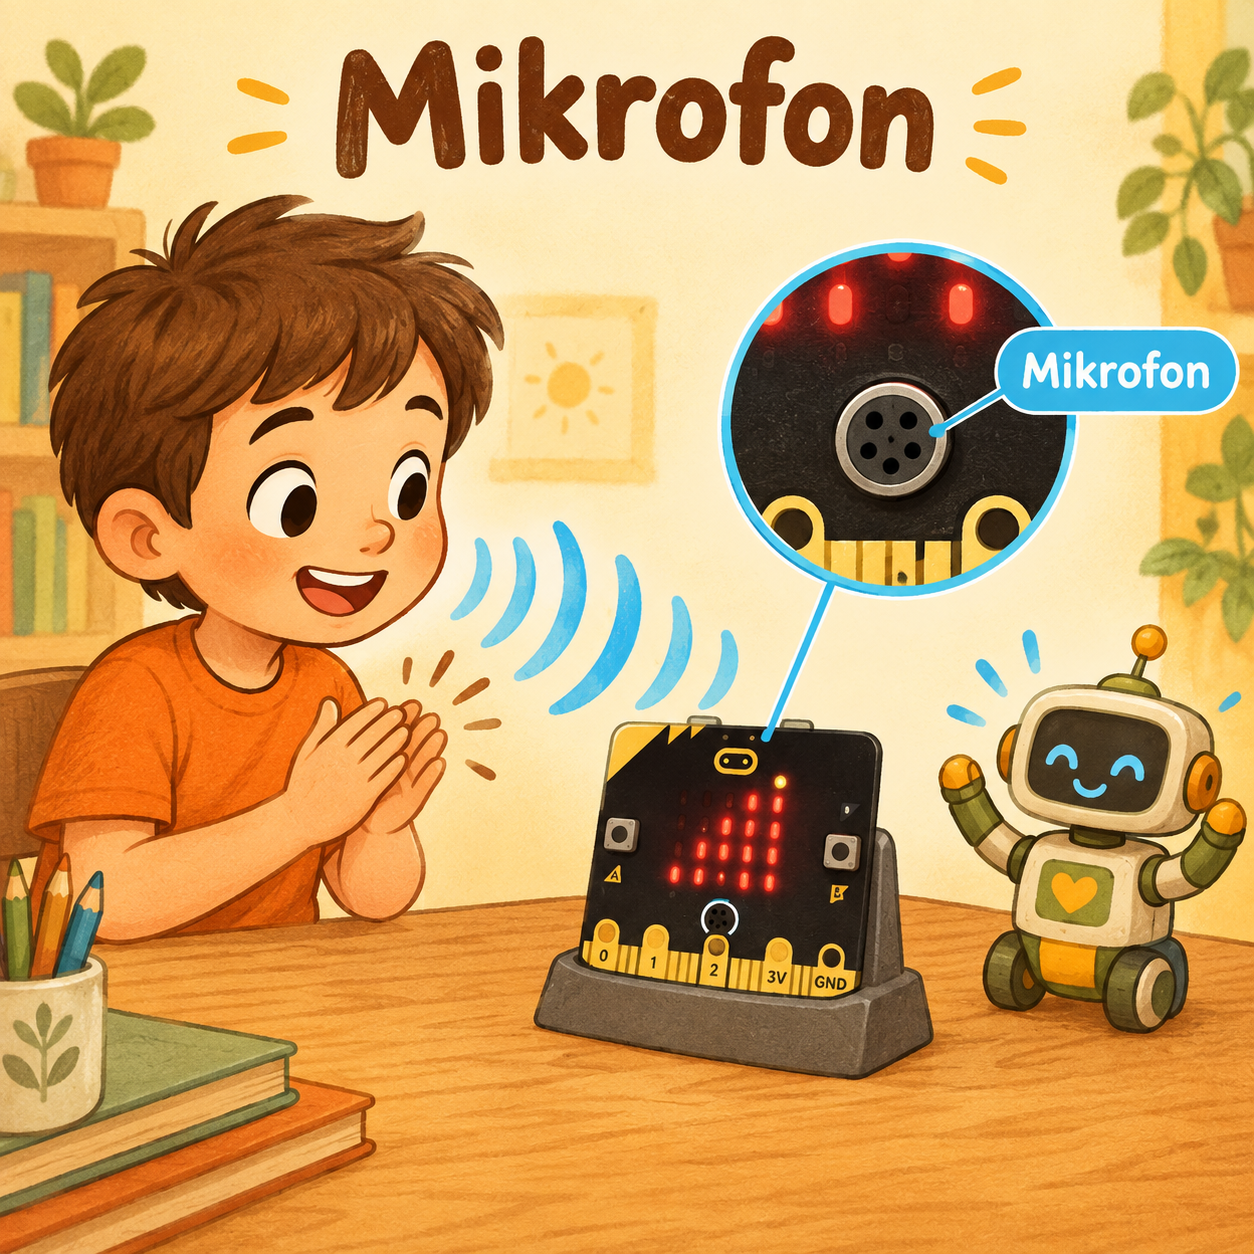
12. Microphone
The microphone and its LED are on the back of the board. The LED lights up when the microphone is measuring sound levels, and on the front of the device there is a small hole that lets sound reach the microphone.
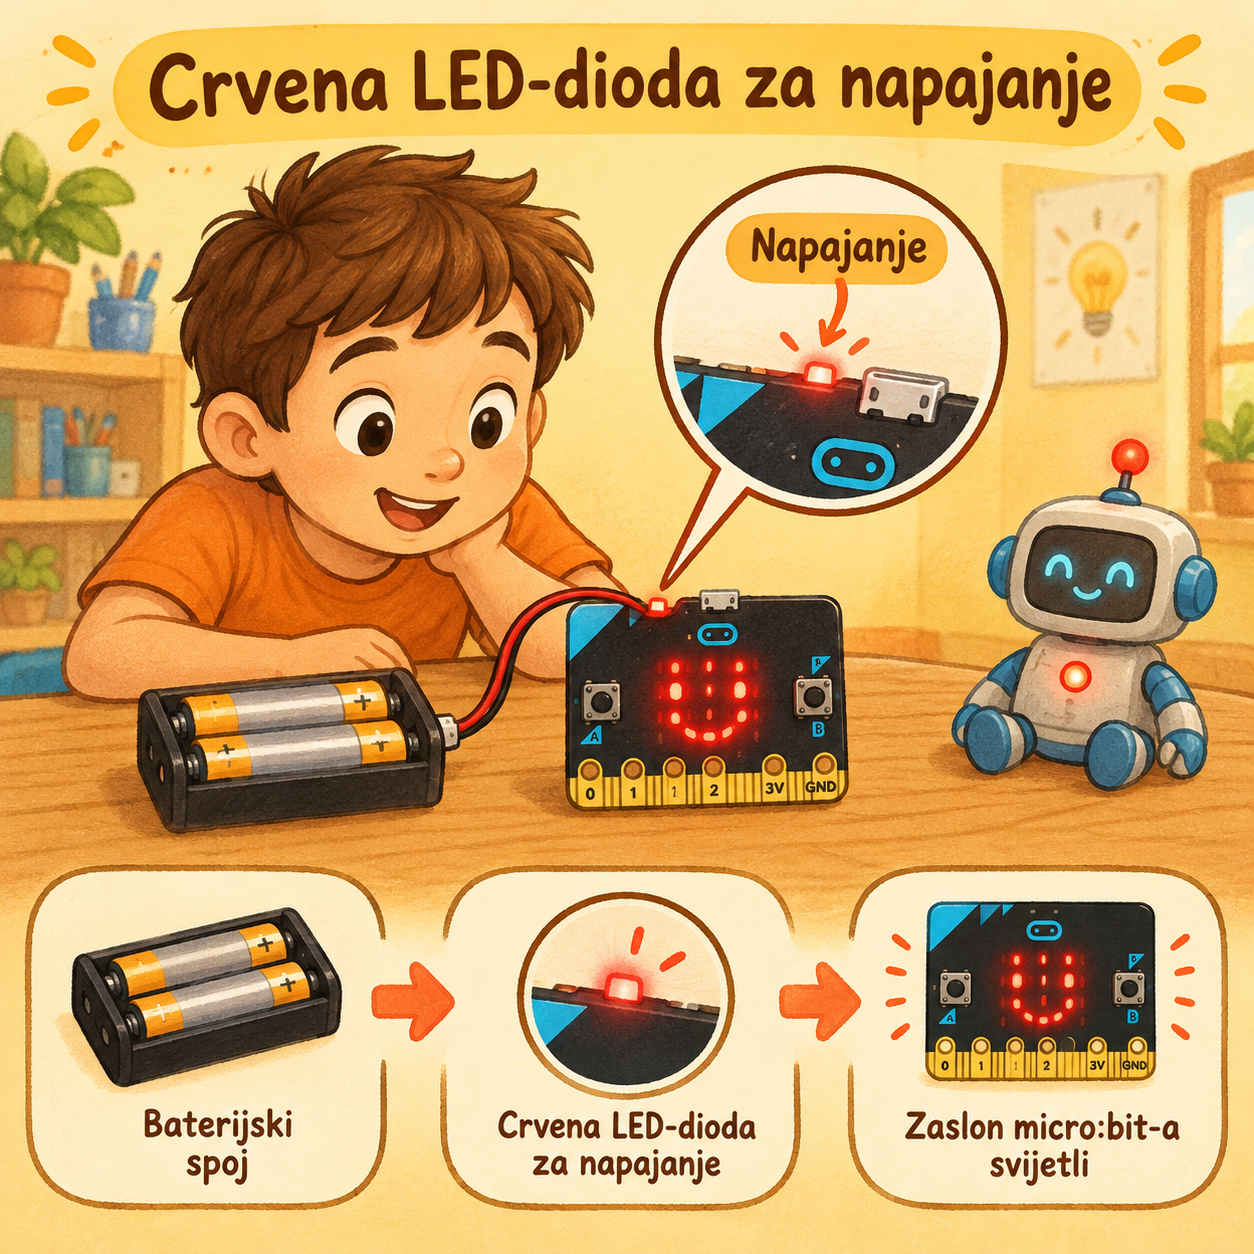
13. Red power LED
The red LED on the back of the new micro:bit shows when the device has power, either from batteries or from the USB cable.
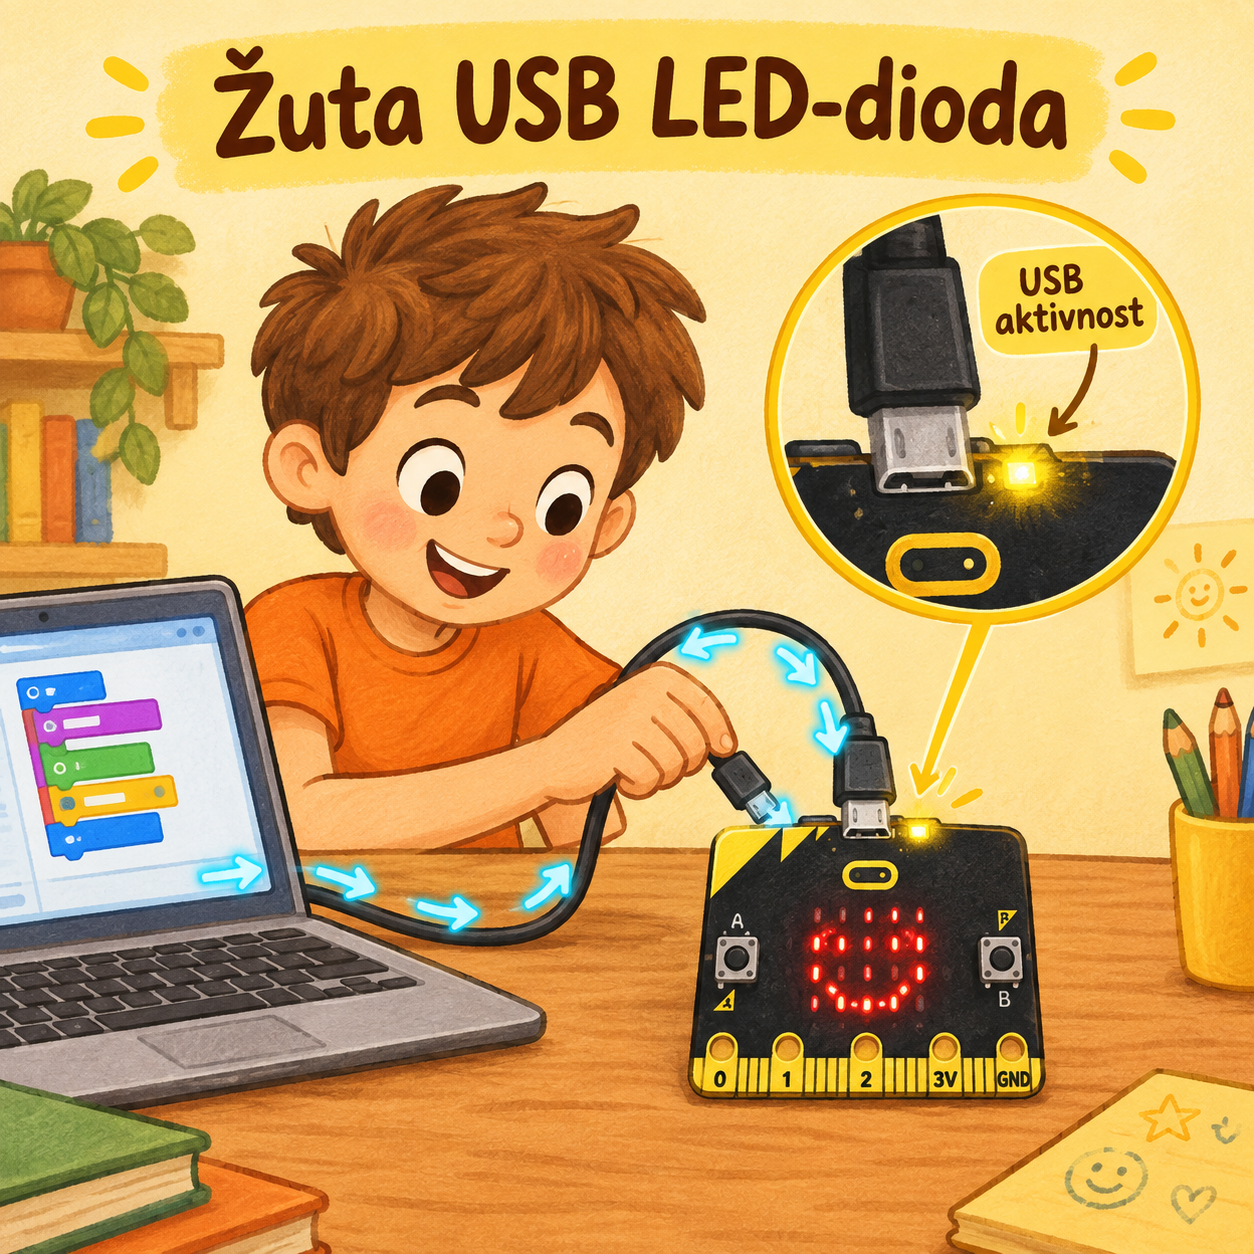
14. Yellow USB LED
On the new micro:bit, the yellow LED flashes when the computer is communicating with the micro:bit over USB, for example when a program file is being copied onto it.
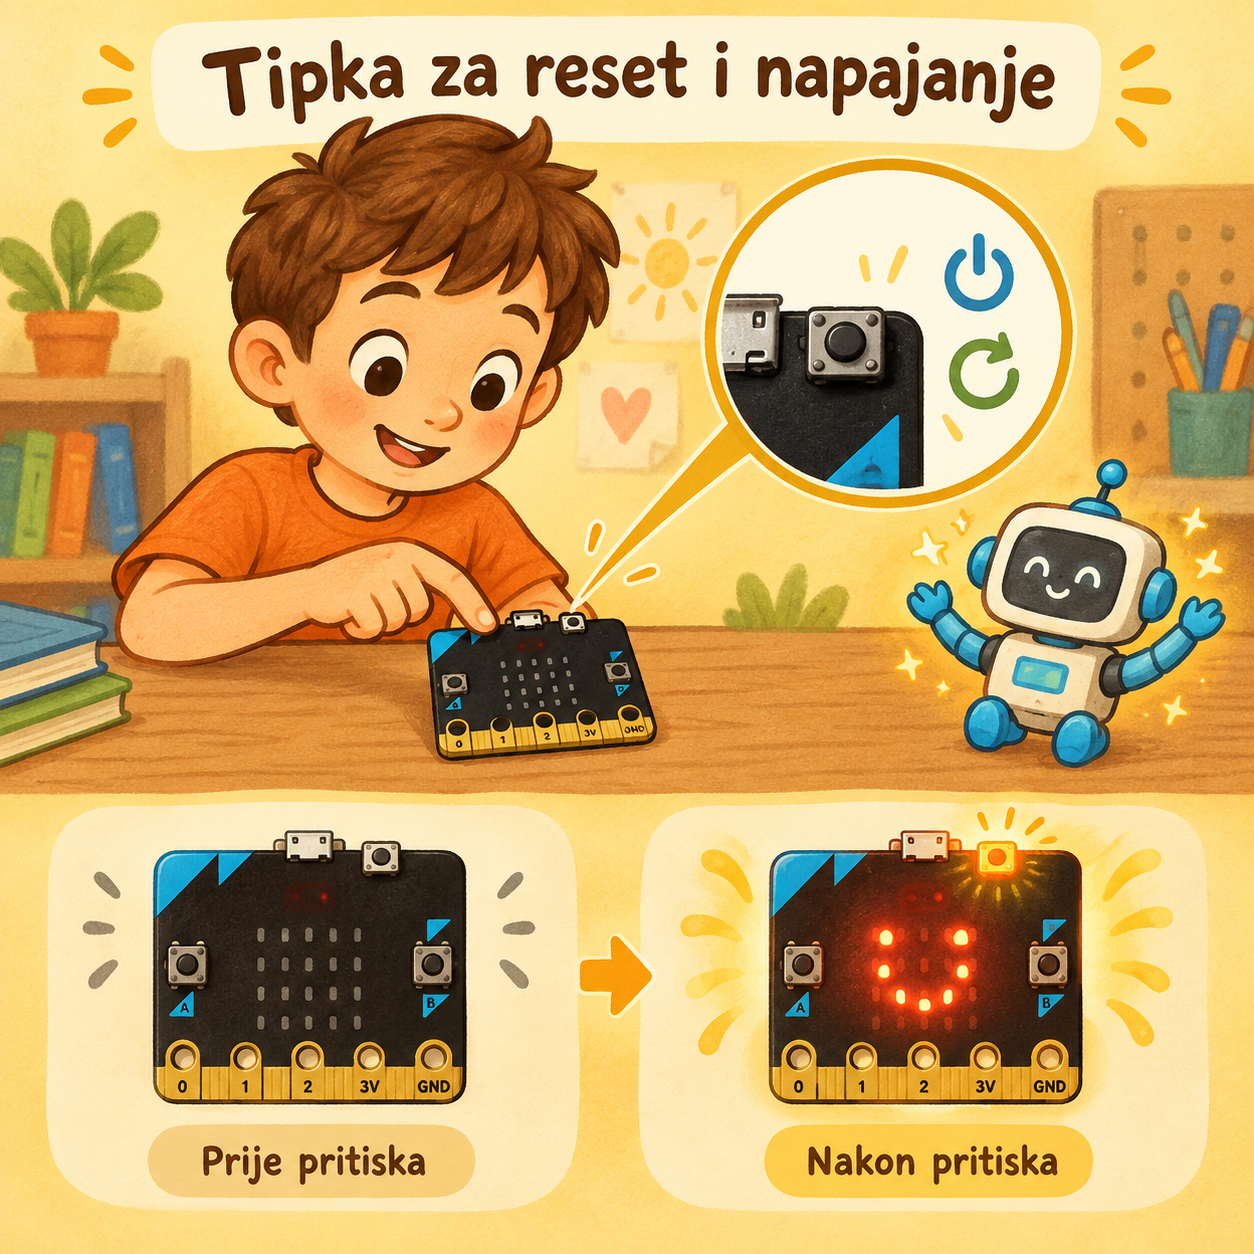
Pressing this button on the new micro:bit (V2) resets the program (starts it again from the beginning). If you hold the button down for longer, the red LED will glow more dimly. When that LED goes out, letting go of the button puts the micro:bit into power-saving mode (sleep mode). Pressing the button again wakes it up for normal use.
 What did we learn?
- The micro:bit is a small programmable computer.
- It has a built-in LED screen, buttons and several sensors, which we can use in our programs.
 Chat on Discord.
(join)
Chat on Discord.
(join)